FAQs
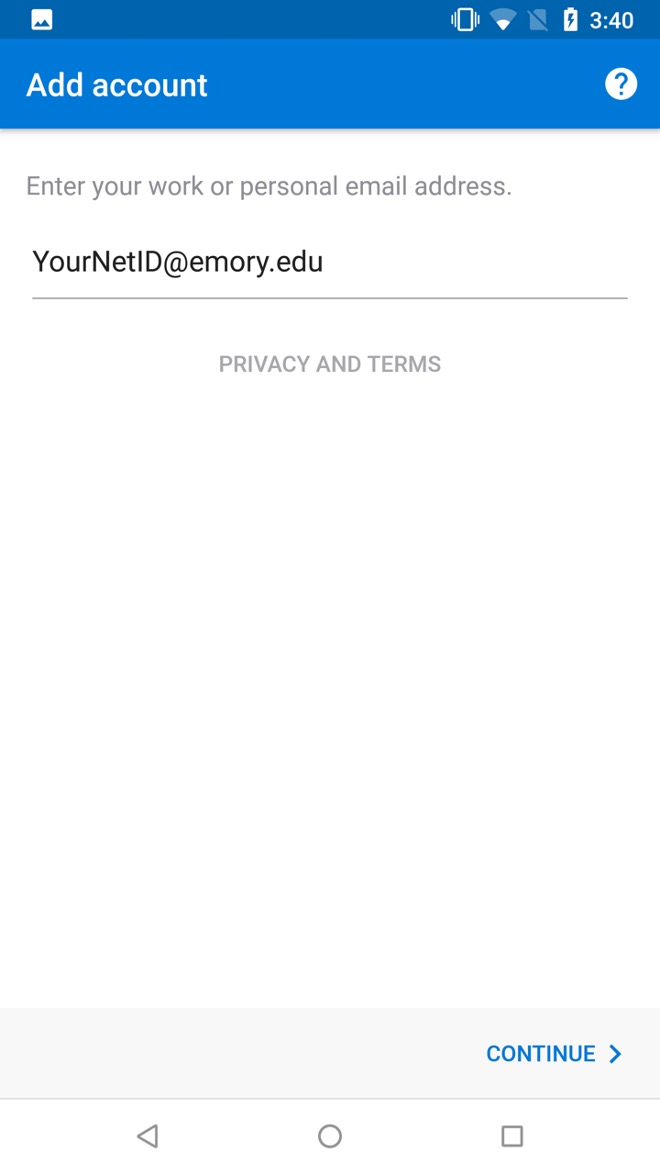
Currently, the built-in email app for Android does not support Modern Authentication. Since Modern Authentication is required to connect to your Emory email account, you will need to connect using the Outlook app that can be found in the Google Play Store. There are other email apps that do support Modern Authentication, but since step-by-step directions will vary among those apps, they will not be listed below.Smartphones
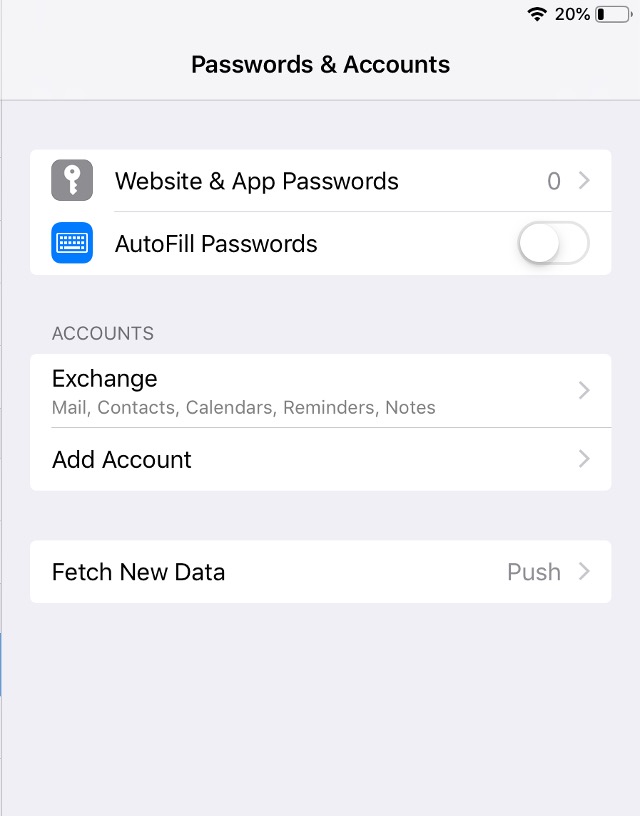
***Your account is now added. Confirmation image*


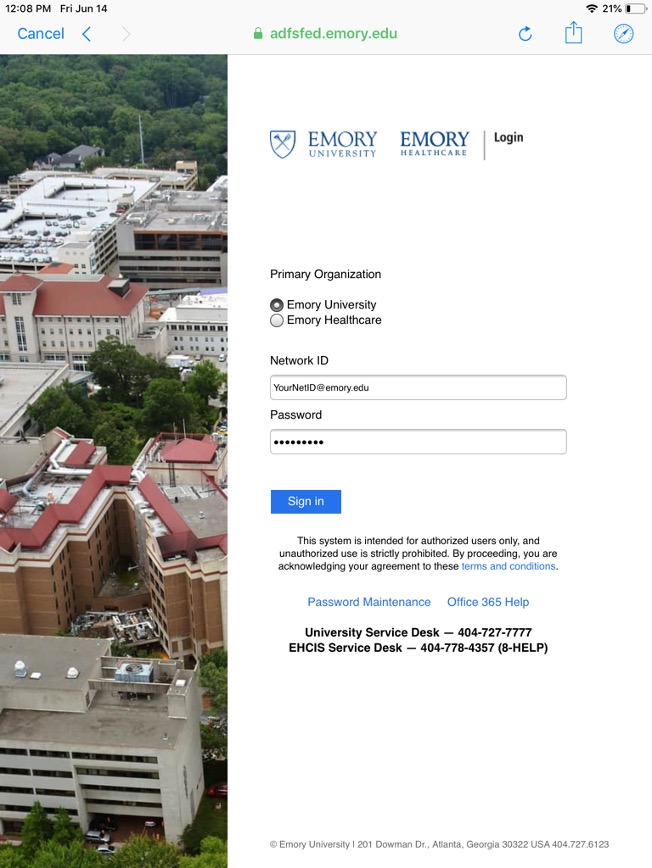
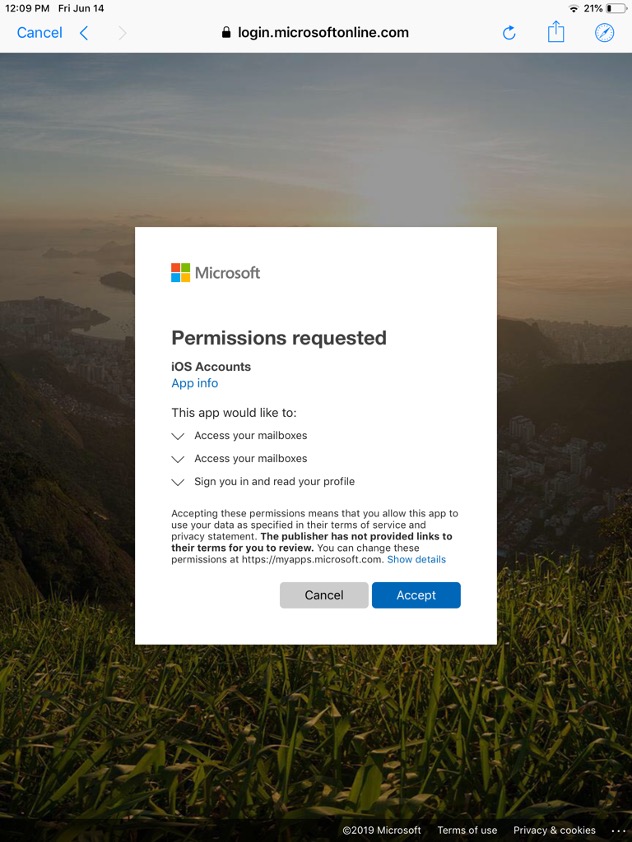

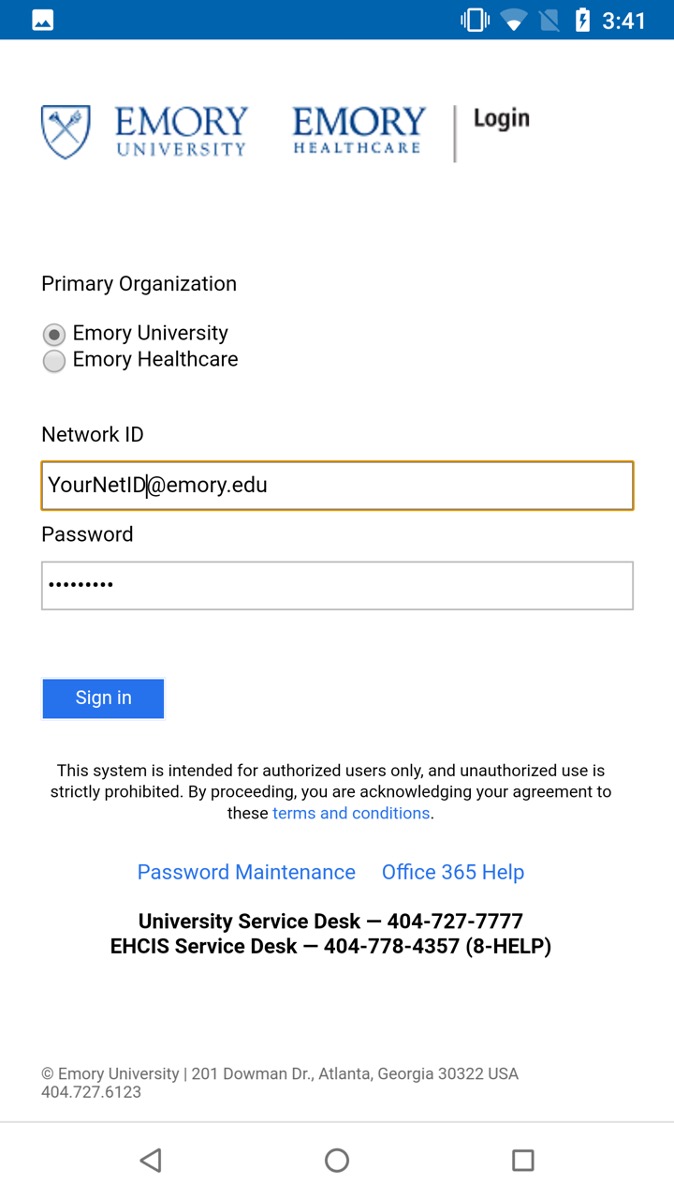
To set up the Outlook application:
Office 365
- Go to email.emory.edu and log in with your netID and password
- Click on the user icon on top right hand side and click on My Account.
- In the left hand panel, click Office Apps
- Choose Install Office. It will immediately download and start the installer for your Office
Office 365: Groups
There are 2 ways to email groups
Within Office 365 mailbox
- Open Outlook on the web
- In the navigation pane, under Folders, select Inbox
- Select New Message under the banner
- In the To field, type the name of the group: (ox-test-g), select the group
- Type the Subject
- Compose the message in the body
- Click Send
From within the group
- Open Outlook on the web
- In the navigation pane, under Groups, select your group. The folders may need to be collapsed by clicking the up arrow.
- Select Send email under the banner
- Type the Subject
- Compose the message in the body
- Select Send
- When you create an event from you personal calendar it appears as organized by you.
- When you create an event on a group calendar, it appears as organized by the group. You're automatically added as an attendee, and the event is added to your personal calendar.
Using your personal calendar
- Outlook on the Web
- Select the waffle from the left corner, select Calendar
- Select the date and time for the meeting on the calendar
- Enter a meeting title, location and end time, select More Details
- Under People, type the group name, select the group
- Enter all other information as needed, repeat information, meeting details, etc
- Select Save
From within the group
- Open Outlook on the web
- Select the waffle from the left corner, select Calendar
- Select Groups – If you have multiple calendars open, the events for each will be displayed. Colored tabs across the top indicate which events align to each group
- From the group calendar, select the time for the event. When you create an event on a group calendar, it appears as organized by the group. You're automatically added as an attendee, and the event is added to your personal calendar.
- Enter a meeting title, location and end time, select More details to add additional information.
- Select Save
- Create a document (Word, Excel, PowerPoint) as usual.
- Save the file to a location that you remember so you can upload
- Once saved you can upload the file to group files to share
- Open Outlook on the web
- In the navigation pane, under Groups, select your group.
- Navigate to the location of the file, select the file that was just saved, select Open.
- The file it uploaded to the Files location
Note: Only the owner of the group can add and remove members.
- Open Outlook on the Web
- In the navigation pane, under Groups, select your group. The folders tab may need to be collapsed in order to see the GroupsOpen Outlook on the web
- In the group header, select the members
- Choose the Add members icon
- Enter the name of a person you want to add. Select the appropriate person.
- Choose Add
Note: You must be the owner of the group to delete/remove members.
- Under the group header, select members
- Click the x to remove the person from the group
- Click Yes to remove the person from the group
- Outlook on the Web
- Select the waffle from the left corner, select OneDrive
- Find the file you want to share with a group in Files
- Right click on the file
- Select Share
- Enter the name of the group (ex. Ox-test-g), add a message.
- If you want the group to edit the file, click "People you specify can view" this is above where you added the group name. 1. Check the box Allow editing 2. Click Apply
- Click Send
Other FAQs
Many technology problems are easily solved by shutting down and restarting the computer. We recommend that you always try this first. If the problem persists, look for other IT FAQs or open a ticket to contact OCIT.
- Students: EmoryUnplugged requires a registration process.
- Faculty/Staff: EmoryUnplugged connectivity instructions.
You can send faxes from your email account. The person receiving the fax must have a digital fax service.
- Compose your email using your normal process
- In the To field type: phonenumber@fax.emory.edu (replace "phonenumber with the fax number you're faxing, you do not need 9 for an outside line)
- Attach any documents to the email and/or type a message in the body of the message
- Click Send
- #95
- enter 5 digit extension
- #0
- 5 digit extension
- #
- #96
- enter 5 digit extension
- #0
- 5 digit extension
- #
There could be several reasons why your printer isn't printing. The connections could be loose, the queue could be full of bad prints, the printer could be out of ink, the default printer could be wrong or the printer could just be stuck. Some things you can try are
- Checking all connections
- Turn the printer off, wait, then turn it back on
- Check the ink cartridges
- Clear the queue in your computer
- Click the START button
- Click Printers and Faxes
- Double click the printer you are having problems with
- Click the Printer menu and select "Cancel All Documents" ( it can take a while for all of the documents to clear)
- You can set your default printer by right clicking the printer you want as your default and select "Set as Default Printer"
If your phone requires username and password, enter the following: Dial the OFFICELINX number below or depress the mail icon/voicemail button Transfer a caller to your voicemail or directly to another user’s voice mail (Express Messaging) Transfer a caller for Calls Answered through Coverage, Call Pickup, or a Bridged Line to the called number’s mailbox Dial the OFFICELINX number below or depress the mail icon/voicemail button If you are experiencing cellular coverage gaps on campus, consider enabling the Wi-Fi Calling feature on your smartphone. This is the same Wi-Fi connection you have set up on campus (EmoryUnplugged). Wi-Fi Calling provides the ability to make and receive phone calls over a Wi-Fi connection. T-Mobile, Sprint, AT&T and Verizon support Wi-Fi calling. To turn WiFi calling on: NOTE: It may be necessary to also turn on airplane mode in order to force the phone to use Wi-Fi. Phone/Voicemail
on your telephone
Were you prompted for your voice mail password?
Key in the default password 147258. This password is for initial set-up only on your telephone
on your telephone
on your telephone
on your telephone
Training Videos
- Hands on lab videos:
- Introduction to Bookings; pinning, initial setup (2:48)
- Staff (4:13)
- Bookings Page (5:08)
Zoom FAQs
- Click your profile picture then click Settings.
- Click Recording.
- Click one of these options beside Local Recording:
- Click Open to open the folder where your local recordings are stored.
- For Windows: click Change to change the default recording location for your local recordings.
- For Mac, click in the location path and select “Choose a new location.”
- Go to Settings by pressing the gear icon on top right corner
- Click Recordings
- Click Open next to the "Store my recordings at:" this opens all my recordings in another window
- Drag and Drop the recording to the OneDrive location
Oxford GA 30054
Sat & Sun: Closed
Sat & Sun: Closed